Connect Your Marketo Marketing Automation Platform with Cintell
Integration with Marketo is now available! Contact us today to learn more and request access to this feature.
How to setup your Marketo and Cintell Integration
Once you have requested access to the Marketo integration feature and confirmed it has been enabled, you’re ready to get started.
First things first. You or your Marketo Admin will need to create a new Service for the Marketo-Cintell connection. It’s easy!
- Log into Marketo and navigate to the LaunchPoint: Installed Services area of the Admin Panel
- Click New and then New Services
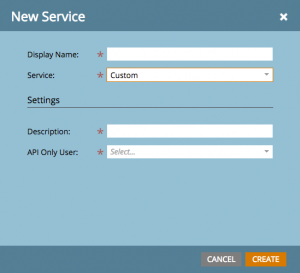
- Enter the following and click Create
• Display Name: Provide a name for the connection with Cintell (example: Cintell Connection)
• Service: Select “Custom” from the dropdown
• Description: Provide a description for the connection.
• API Only User: This is typically the Marketo Admin’s email address
In order for Cintell to successfully talk to your Marketo instance, you will need to enter the following information in the Integrations area of Cintell.
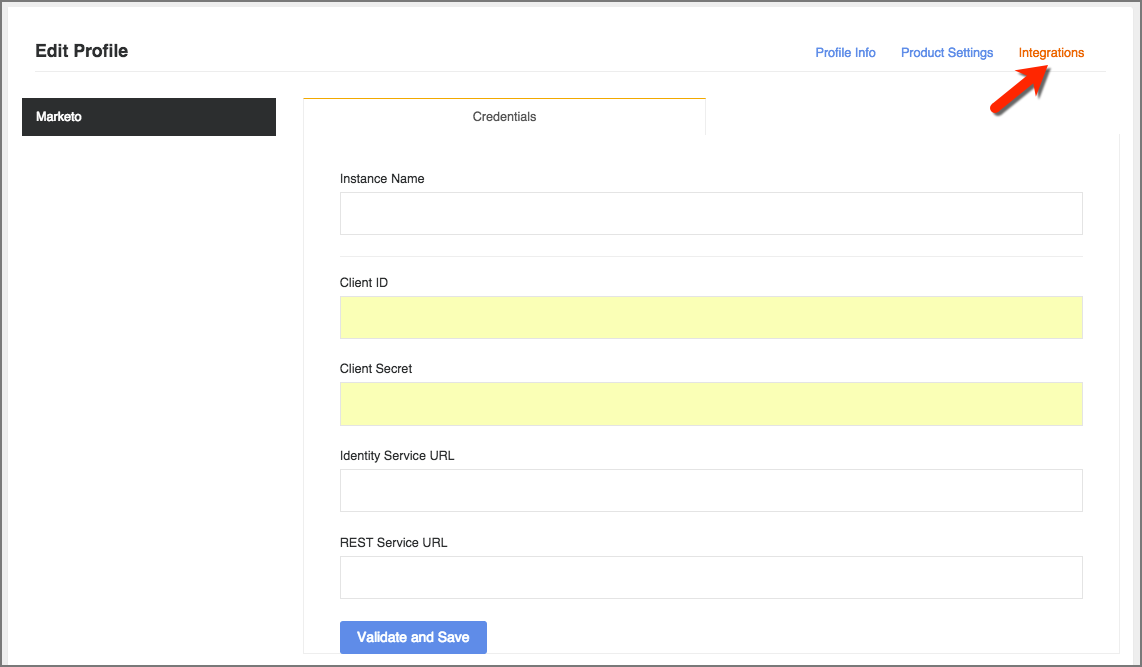
- Login to Cintell, navigate to your Profile and click on the Integrations tab.
- Enter the following information, then click Validate and Save. (The information you’ll need to enter can be found within Marketo in the Admin > Integrations area.)
• Instance Name: This is the official name of your Marketo Instance (usually your Company name)
• Client ID: Find this in Marketo under Admin > Integration > LaunchPoint
• Client Secret: Find this in Marketo under Admin > Integration > LaunchPoint
• Identity Service URL: Find this in Marketo under Admin > Integration > Web Services > REST API > Identity
• REST Service URL: Find this in Marketo under Admin > Integration > Web Services > REST API > Endpoint
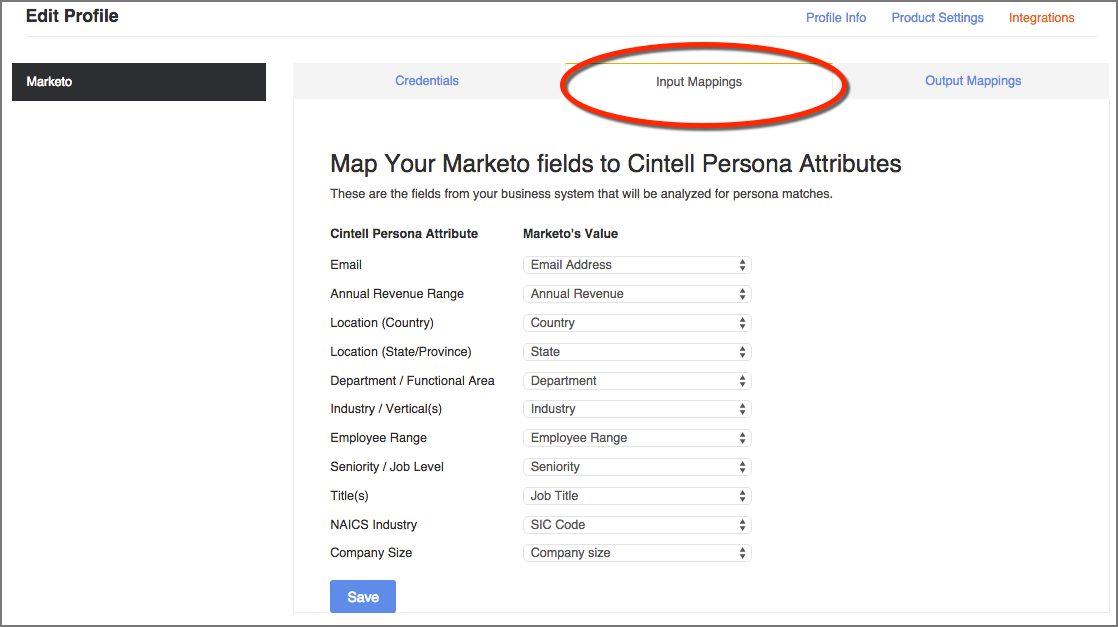
Now it’s time to map your contact fields in Marketo with Cintell Persona attributes. These are the fields from your business system that will be analyzed for persona matches.
- Click the Input Mappings tab on the Integrations screen. Match the following persona attribute fields with your contact fields in Marketo. (Note, these fields do NOT need to be an exact match to the attributes in Cintell.)
• Annual Revenue Range
• Location (Country)
• Location (State/Province)
• Department / Functional Area
• Industry / Vertical(s)
• Employee Range
• Seniority / Job Level
• Title(s)
• NAICS Industry
• Company Size
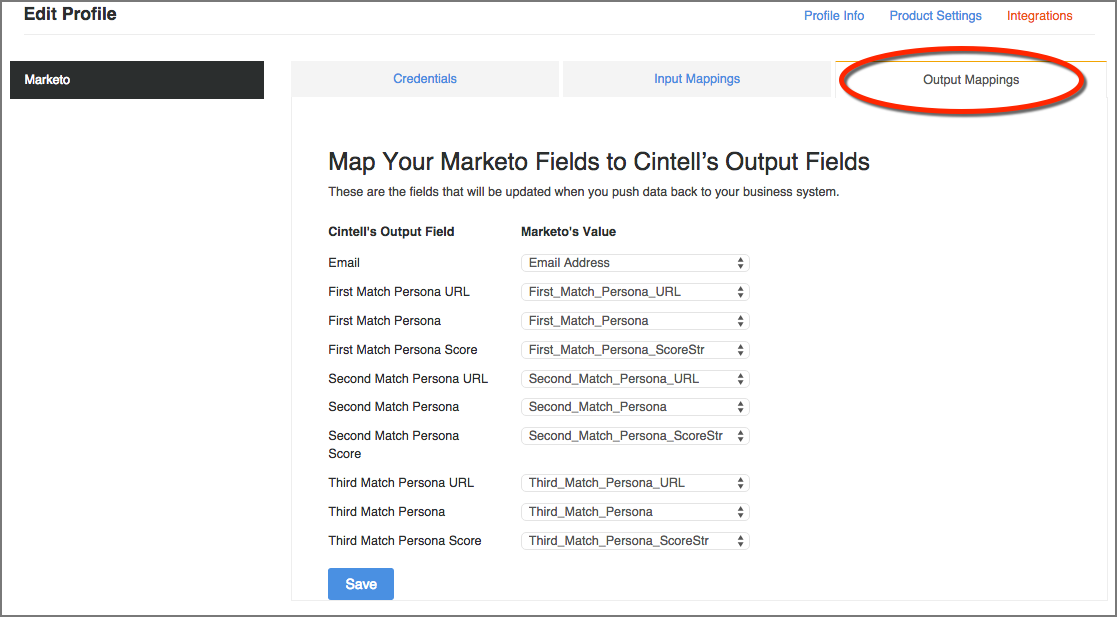
Once you have mapped your contact fields in Marketo to Cintell Persona attributes, it’s time to map Cintell’s output fields back to contact fields in Marketo. These are the fields that will be updated when you push data back to your business system.
- Click the Output Mappings tab on the Integrations screen.
By default, Cintell is designed to push 9 fields of data back to your Marketo instance – Persona Name, Persona URL and Persona Score, for your primary persona match, as well as second and third best matches. These contact fields will need to be created in Marketo prior to mapping. You can choose to create all 9 fields, or create a custom selection (for example, only the persona name and URL for the primary persona name).
• Persona: This is the name of the published persona.
• Score: This is the percentage our tool feels this contact matches this particular persona.
• URL: This is the URL to preview the published persona.
My integration is complete! Now how do I start matching contacts in Marketo to SmartPersonasTM in Cintell?
Once your Marketo instance is successfully connected and validated within Cintell and your Input and Output mappings have been defined, you’re ready to start matching contacts! (See above for detailed instructions on the initial setup.)
- Select the Analytics tab at the top of the Persona Dashboard.
- Click Upload Contacts button and choose Upload from Marketo.
- Select your Marketo list from the pop-up window and click Upload.
Cintell will now prepare your upload. The analysis may take a moment, you can navigate to other areas of the tool while you wait. When you see Ready in the status column, click the list name to preview our analysis of your contacts.
Cintell has now analyzed the contacts that you uploaded and matched them with your existing published Cintell SmartPersonasTM. You will see a percentage based breakdown of how the contacts in your list matched to a related persona.
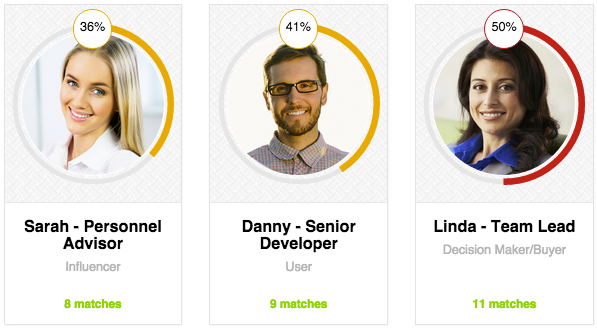
How do I use the data that has been pushed back to Marketo?
The world is your oyster! With this data live in your Marketo instance you can create a SmartList of all contacts matching a certain persona and easily send them a campaign with messaging designed just for them.
Not all of the contacts in my list were matched to a Persona. Why?
If you see a box on the Analytics Manager screen noting a certain number of contacts were not matched to a SmartPersonaTM, this means we were not able to make a match between your contact and your personas in Cintell. This can usually be attributed to one of two things – either your published persona in Cintell is missing a key field (for example, Title), or the list you matched from Marketo has an incomplete or missing value. Without this key data both in Cintell and in your uploaded list, we are unable to make an accurate match between a contact and a published persona. It may also mean that there is a segment of your list that requires its own persona!

Can I use the Analytics feature if I’ve created SmartPersonasTM using my own custom template?
That’s a great idea! At this time the contact matching feature is only available for SmartPersonasTM created using the Cintell wizard. We are working on making it available for all SmartPersonasTM, and will let you know when it becomes available in the future!